22 Temmuz 2016 Cuma

HOW TO MAKE YOUR POWER SUPPLY

                                 POWER SUPPLY

Materials: 

  1. Cockcroft-Walton Generator: https://engineersandscientists.blogspot.com.tr/2016/05/cockcroft-walton-genereator.html
  2. Box
  3. DC Plugs
  4. Silicon Gun
  5. Silicon
  6. Soldering iron
  7. Solder
  8. Cable

   We put the Cockcroft-Walton Generator in to a box that we bought to keep it safe. Then from the ends of every stages we added plugs. 


Back side of power supply


Front side of power supply

Upside of power supply


5 Mayıs 2016 Perşembe

COCKCROFT WALTON GENEREATOR

                           Cockcroft-Walton Generator

     This experiment will be carried out to reach very high voltages from typical city source. There is a very cheap method called Cockcroft-Walton Generator to reach almost 6 kiloVolts. We need this high voltage difference because our real aim is to make a Cathod-ray Tube.
   
     Ideas of making theese experiments are given by Prof. Dr. Serkant Ali Çetin and Associate Prof. Veysi Erkcan Özcan.

     Then Prof. Dr. Doğan Güneş has found an available laboratory for us.


     22.04.2016


     Firstly, we started with 1 stage Cockcroft-Walton circuit to be sure about our idea of circuit.


Design with breadboard.


Then we realised that breadboard may cause some problems such as burning because of high voltage. And take out of the breadboard and connect them with the cable band.


2 stages Cockcroft-Walton circuit


     After being sure about our circuit, we connect it to the 10 Volts AC 50 Hertz source and we measure the output 26.6 Volts DC. As it is known we should have measured very nearly 30 Volts DC We checked our circuit one more time and realised that one diode is connected throuhg the wrong way. We turned it reverse and connected it to the same input Voltage Source. This time we measured 31 DC voltage.  We connected it to the small input before connect it to the city source, othervise it would have more risky.

     Those attempts were just for checking the connections of our circuit. The aim of this experiment is to reach very high DC voltages like 5000 Volts for making Cathode-Ray Tube. That's why we connected 1 stage circuit. We connected it to the city source which is 220 AC 50 Hertz Voltage. But first capacitor burned in nearly a seconds.


02.05.2016

     Firstly, we used 1 uF 450 volt electrolytic capacitor and 1000 Volt diode for 1 stage Cockcroft Walton curcuit. But this time, we add 50 kohm resistance and give 220 AC 50 Hertz voltage and we got 175 Volts DC output.

Design with jumpers

     After some research, we decided to change our capcitors from electrolytic capacitor to the film capacitor.
     Then we used 100 nanoFarad 630 volt Film Capacitor and 1000 Volt diode for 1 stage Cockcroft-Walton circuit. We took off resistance because we did not need to decrease the current. And our output became 220 AC 50 Hertz Voltage and we measured 489 Volts DC.


05.05.2016

     Firstly, we made a circiut of 3 stages Cockcroft-Walton Generator circuit with the new capacitors diodes. when we made this circuit we didn't soldered it together. After discussing further, we decided that it would for the best if we soldered the circuit together. Then we added a home-made high voltage probe to multimeter so that we could see the value of volt we got. Our input was 220 volts AC, 50 Hz voltage,our output is 1250 Volts DC for now.


Home-made High Voltage Probe:

     To making this device we took 9 more resistors which are same with multimeter has (1 Mega ohm). We attached the resistors in series so that the quantities of resistors would add up and with multimeters own resistance and we obtained the total of 10 mega ohm's resistor. With this device, we became able to see high voltage values in multimeter. If you want to have more information about home-made high voltage probe, you can access the link here: https://www.youtube.com/watch?v=RAOw0mHQRvk

The resistances that we add into our multimeter

     Then we added 1 more stage and our output became 940 Volts DC. When we made it 5 stage Cockcroft Walton Generator circuit we ended up with 930 Volts DC. After these results, we measured every single capacitors' voltages stored.

5 stages Cockcroft-Walton circuit

     After discussing, we decided to put diodes which are paralel to the other diodes starting from the 4th stage. First we added 2 paralel diodes at 4th stage. The result was 940 Volts DC. It became 1220 Volts DC . We thought that adding these paralel diodes acted as some sort of capacitors own their own, thats why the value has increased. Then we added 5th stage with 2 paralel diodes. Normally we had 930 Volts DC in the end of 5th stage,  it became 1060 Volts DC.

The circuit with 2 paralell diodes

We took out the fifth stage and we added 2 more paralel diodes to fourth stage which means in fourth stage we had 3 paralel diodes as you see below. And we measured the output 1220-1230 Volts DC.

The circuit with 3 paralell diodes

After these results we decided to take the extra ones out and instead of paralel, we would put them in series with the original diodes. The result was 400 Volts DC. It decreased by a lot.

The circuit with series diodes


09.05.2016

We tested different circuits as shown below.
-2 diodes which are parallel to each other with 5 stages---1040 V


  • 2 diodes and 2 capacitors which are parallel to each other with 5 stages----1540 DC Volt


  • 2 diodes and 3 capacitors which are parallel to each other with 5 stages----1880 DC Volt.


  • Last two stages has 3 diodes and 3 capacitors which are parallel to each other with a total of 5 stages----1330 DC Volt


13.05.2016


  • After these results we decided to change our diodes and capacitors. We got diodes which have maximum voltage break is 1500 volts. And we got capacitors which have 1uF capacitance.


  • For being unstressed, we also got CRT Flyback transformer which generates high voltages. They are used to be in old televisions. And when some of us was trying to find solution to the Cockcroft-Walton, some of us was trying to produce a high voltage from CRT Flyback. But it couldn't work. the home-made high voltage probe that we made.


16.05.2016


  • We bought a new multimeter and converted it to the high voltage prob again . And we decided to add transformer to our Cockcrof-Walton circuit. Because some previous analysis, we realised that, with 220 AC input volltage there will be a output limit which is nearly 1800 volts. 


The analysis of the circuit with 220 AC input (from LTspice IV)


After some more analysis, we decided to add a transformer which will give us 630 AC voltage as input.

20.05.2016


  •       First we tested our old circuit(3 paralel capacitors(0.1 uF, 630 V) , 2 paralel diodes(1000 V)) with transformer and we measured 2050 DC Volt as output. 

  • Then we tested our new circuit(capacitor 1 uF 630 V, diode 1500 V)  with transformer and we measured 6300 DC Volt as output for a second then it  exponantial decreased. We don' t now the reason yet. We think that one of the capacitors burnt. So we will check the stages one by one until we find the burnt one. 


  •    We understood that the problem is after second stage because after that stage the voltage difference was not changing. One of the components after that stage is fried.


  •     Then we came back our old circuit(3 paralel capacitors(0.1 uF, 630 V), 2 paralel diodes(1000 V)) and change its diodes, we added 1500 V diodes. Firstly, we made 3 stages and mesaured 3350 V. Then we added 2 more stages on to them and we measured 3850 V for 3 seconds then the capacitors exploded starting from the first one.


24.05.2016

    After the last test which is ended by little explosions, we considered that we need more powerfull capacitors which will be able to carry much more voltages. We found 1 uF 1000 Volts capacitors and 1500 Volts diodes. So we made 5 stages Cockcroft-Walton circuit with those circuit elements. And we reached 8350 Volts!  
THE VICTORY!

Thanks to Prof. Dr. Serkant Ali Çetin, Associate Prof. Veysi Erkcan and Prof. Dr. Doğan Güneş for their helps.

In a short time, we will record an experiment video about this experiment! And you will be able to reach it from our youtube channel!

THANK YOU FOR YOUR INTEREST! :)


7 Kasım 2015 Cumartesi

THE HUNTER-MONKEY EXPERİMENT

The Hunter-Monkey Experiment:

     Idea of making this experiment has born with the video(https://www.youtube.com/watch?v=OoTHKYV0q2s) that i faced with on youtube when i am watching videos which are shared by Mr. Erkcan on our course's online page.(21/10/2015)

    Then he found a suıtable room in İstanbul Bilgi University for making this experiment.(23/10/2015)

    And we got contact with Mr. Serkant by our e-mail adresses (30/10/15)

    Then we set prep-meeting for experiment(02/11/2015)

   We have met for starting to the experiment in lab-101 (03/11/2015)

   First of all, we checked our materials which we bought for being sure about their utilizable.

1a)When we are winding up the copper wire for making bobbin.


1b
 We have worried about copper wire, because it should have been tickher than ours. We tried to find the best copperwire but we couldn't...So, we would have lower number of wraparound than the video has. We have lost so much times when we were winding up.


Then we worked the cable which we found. It was thinner than we had first but tickher than the video. But we didnt have another alternative.So, we started to work.


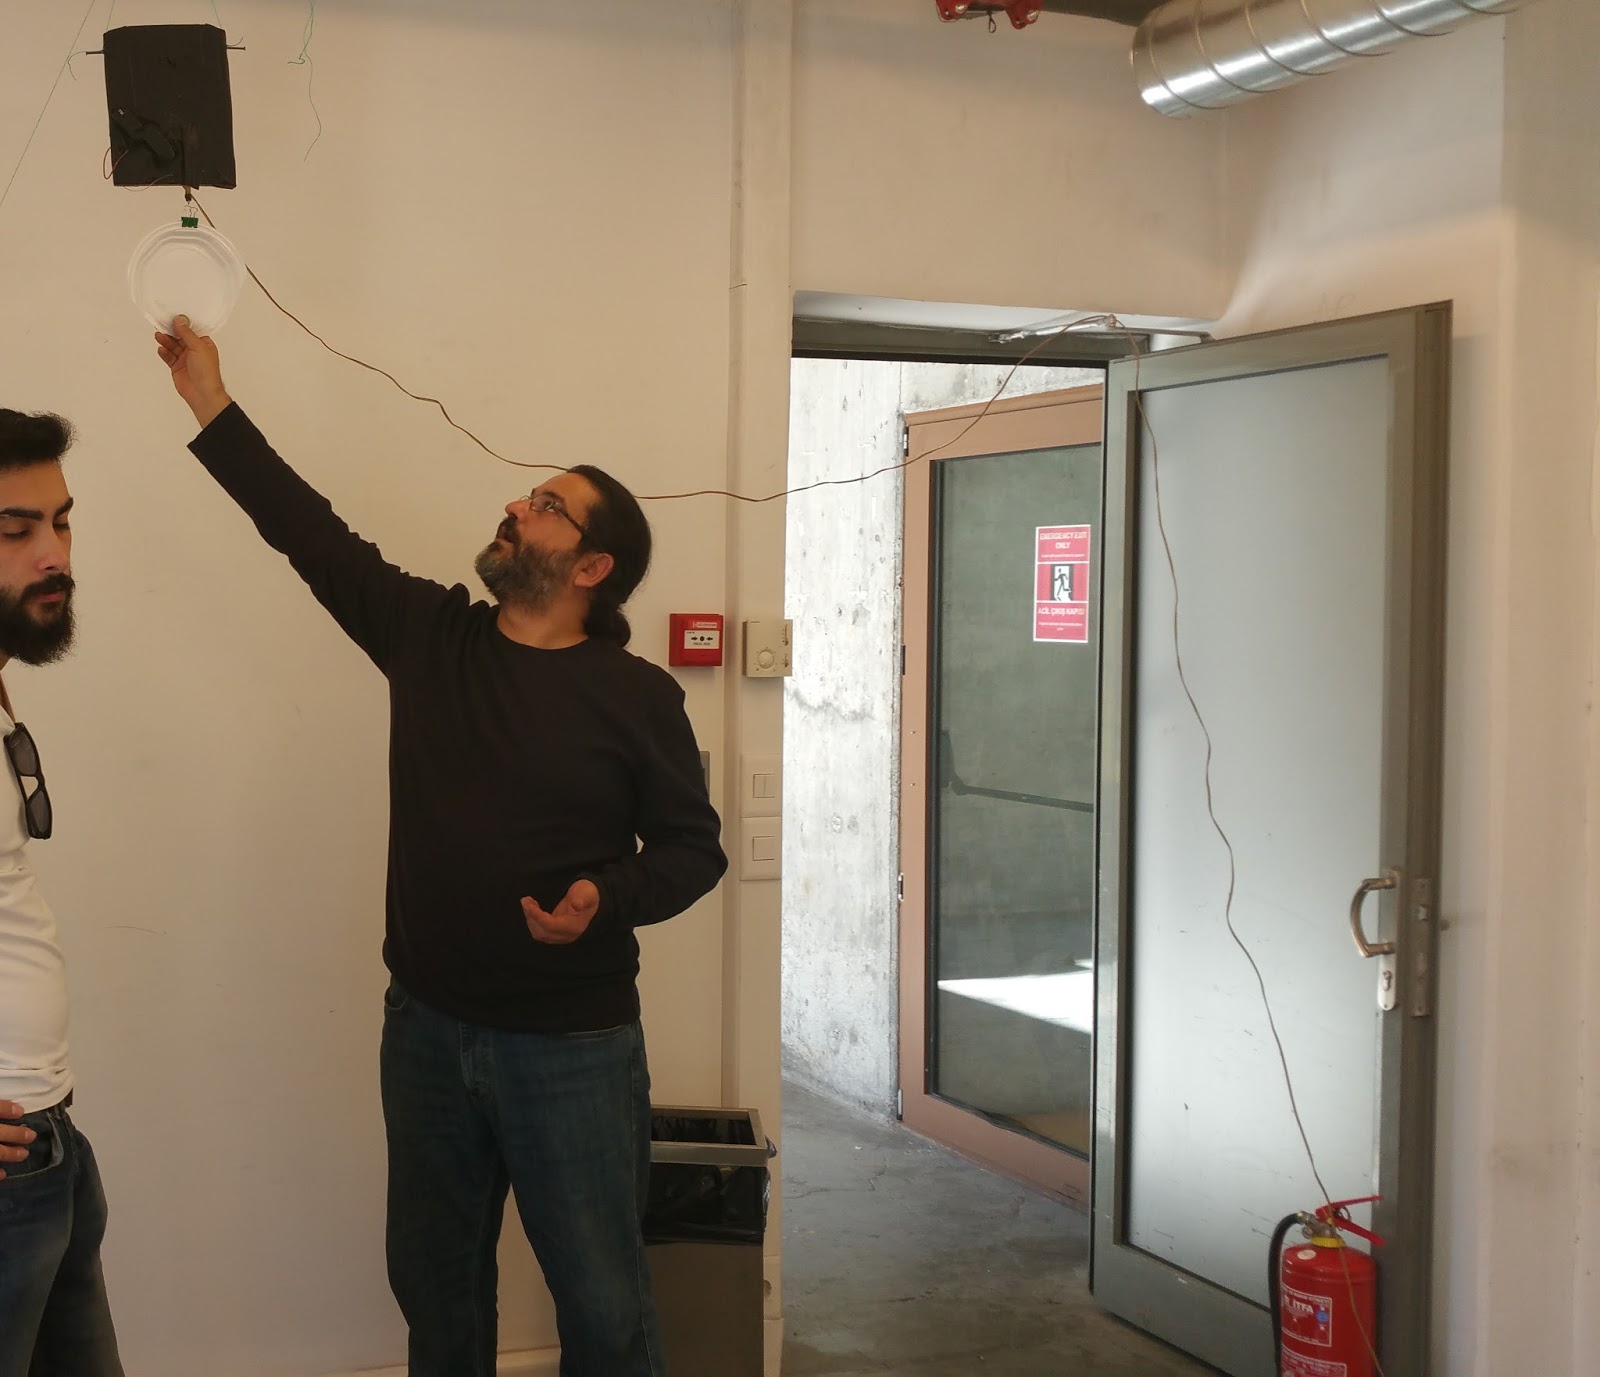
We have setup the experiment.
                                         
                         
                                             The view when you look from the penstock.

                                               When the bullet cut the short circuit.


But we had faced with another problem which is about the magnetic field. Before we complete the setup of experiment. We checked the bobbin(magnetic field) and it could have kept monkey(target) in the air. But when we completed the setup. It couldn't keep it in the air. So we have understood that when we completed the setup resistance has increased.(Because of the lenght of cable or our number of  wraparound)
when we tried to keep the target in the air.1


The we decided to decrease the mass of target. But when we were decreasing the mass of it, another problem shows itself to us... We couldn't control aerodynamic. When  the magnet released the target, the target started to turn around of itself because of air friction.


Influence of air friction and bullet at t=3 seconds


And then we tried to increase our number of wraparaound but it didn't increas the voltage that we wanted. Because we rolled the cable on to the wraparaound we had.(When you roll second or third etc. time on to pintle, magnetic field which those wraparaound gives will be lower than the first wraparaound.                                                                                                                 


So we decided to meet in another day and bring(buy) the materials which would solve our problems.


And we have met on 06/11/2014 but we still haven't had the cable that the video shows us. And Proffesor Serkant gave us thinner cable which he found it from old computer items.(In the same time we cut the surplus of cables) When we wind up it with that cable we could have roll more than before and we had more wraparaound and we had more magnetic field.So, we did not have to decrease tha mass of the target(monkey) after that we hit the target(monkey)2 times!

A video of the time which we hit the target.

But we couldn't hit the target regularly because we faced with problems such as cannot fitting the elevation of the bullet and penstock(it shows us if te elevations are not fit; direction of bullet can change because bullet may not move straightly in penstock), aerodynamic of the bullet(it make bullet move in the air tiltedly.) as you can see  on video,


and the stabilization of the station where we put the penstock(it makes bullet goes tiltedly)
Here is our youtube channel which you can reach our Final Experiment Video!

Instructors:

-Prof. Serkant Ali Çetin
-Prof. Veysi Erkcan Özcan

Students:

-Ahmet Renklioğlu
-Murat Can Boğatepe
-Anıl Özübek
-Cahit Sürmeli
-Burak Erdoğan
-Erdem Akım

Next week, we will try to fix those problems that we faced with! And add more videos from other views!


AND WE WİLL TRY TO DO OTHER EXPERİMENTS WHİCH ARE İNCLUDED IN PHYSIC-100 and more. YOU CAN REACH OTHER EXPERİMENTS ON THİS WEBSİTE!